
In this post, I’m gonna tell you everything about the technique I developed to take better pictures in every moment. By the end, you’re gonna know how it changed my life, and you will be surprised how something so simple can change yours too.
Photography is a passion of mine. Okay, photography is a passion of almost everybody, right? How can we not love saving our best moments and have the feeling that any second can last forever? This is exactly what photography means to me: a tool that allows me to keep a moment forever and feel everything I had felt again.
So, imagine how frustrating it was for me when a photo did not turn out as good as I wanted it to, and definitely did not truly reflect the moment. Well, if the moment was beautiful, the photo needs to remind us that this moment was beautiful, right?
Even though photography has been part of my life for many years, even though I have studied photography, known several techniques, and always carried a camera with me; there were moments when I didn’t like the photo at all! And I wondered why!

The whole problem revolved around the decision I needed to make. No matter how much I know about photography techniques, if I make the wrong decision when shooting, I will ruin the photo and lose the opportunity to record that moment forever.
I started to wonder if there was a way to use several techniques, and then just pick the one that turned out best. And unfortunately, you can test different things like different lenses, different camera settings… but in daily life, it’s almost impossible to do this every time you want to snap a photo.
That was when I thought: ok, I can’t change lenses, settings, and everything else in every moment I want to take a photo, but there is something I can change that doesn’t depend on equipment, doesn’t take time, and has drastic effects on a photo: composition!
The angle and distance from your camera to the photographed object impact your photo in an outrageous way, so why not use it to our advantage?
Thus my 4 Points in Photography method came to life, which helps me make the best out of every moment and ensure that I will get at least one good picture of every situation (most of the time more than one!). And in this post, I will show you how to drastically improve your photos without having to change equipment or wasting a lot of time.
Do you always want to have beautiful photos, whether for Instagram, your blog, or simply to make your important moments last forever? Follow these 4 steps.
Before you begin
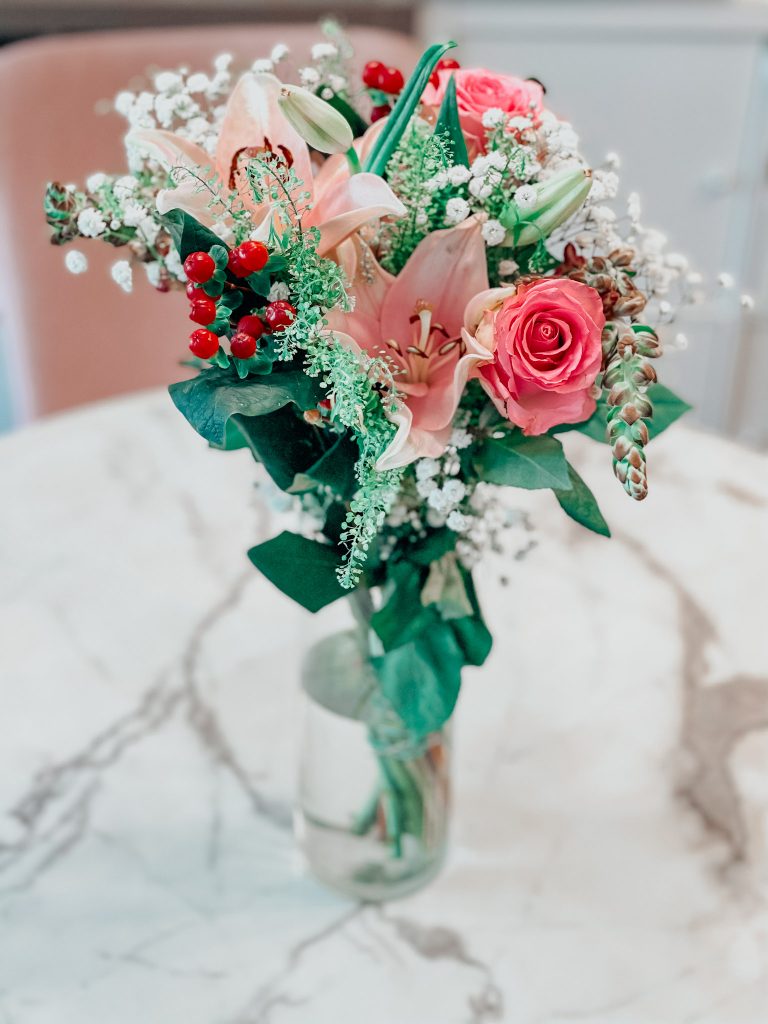
Before point 1, you will take your picture normally, as you always do. Want to take a picture of your snack? Just go and take it exactly as you always do, without thinking too much.
Then you follow my 4 points:
Point 1: Getting closer
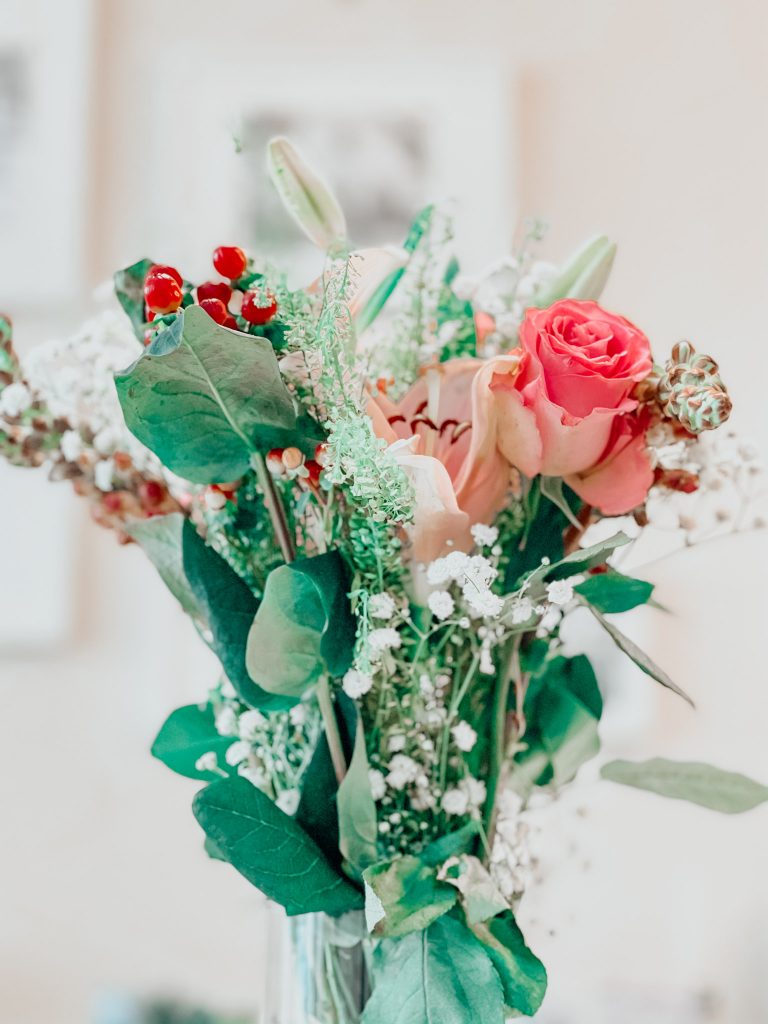
As soon as you take the first picture without thinking too much, you will get closer to the subject. If you are standing and photographing someone, you will simply step forward and shoot again.
Stepping forward or moving the camera closer by bending down, already drastically changes your composition. Instead of showing something as a whole, you will be forced to photograph something in detail.
Perhaps you are used to shooting without thinking much about what is in the frame and this simple step will make you pay more attention to something specific in the scene.
If you are photographing a person, this step will make you focus even more on the person by isolating the rest of the environment and focusing on the face or some other part of the body that you wanted to highlight.
Point 2: Stepping Back
After you have taken one step forward, it’s time to step back! Actually two, because this way you get past your starting position and get a little distance.
So, what’s the advantage of doing this? You shoot the whole scene and a little bit more, and in the end, your photo will not just make a moment last forever but tell a story.
What???????? Yes, it will tell a story! Imagine that you took a picture of your snack. The first photo is your coffee next to the cake on the table. The second photo (closer) will show a beautiful detail of the dishes, while the third photo (with distance) will show the environment.
In other words, the photo no longer records your snack, but instead, “tells” those who will see it that you had your snack in this beautiful Cafe with bistro tables and pink cushions on the chairs and a beautiful striped wallpaper… etc.
Point 3: Height
Then we move on to the vertical axis. You go back to your starting position (where you took that first picture without thinking) and now move your arm up. If you want, you can use your tiptoes to help with this, too.
Take a photo from above and see how the perspective changes completely!
One of the great advantages of the photo taken from above is the light, which usually comes from above. So, you end up capturing more light in the photo which helps you either make the objects look more pleasant or the faces look prettier, with fewer frown lines.
Point 4: Below
The fourth point is obvious now, isn’t it? But that’s what I see fewer people doing: bending down to take the picture.
By bending down to take the photo you capture the object or person in larger proportions to the environment, which can lead to a very interesting result in your photo.
I like this point in daily outfit photos because it lengthens my legs and, let’s put it this way: I really need this trick since I’m petite! hehe.
But over time you will realize that bending down for the shot can help in many situations, for example in travel shots where you want big monuments or buildings to show up in your shot.
How the 4-point method changed my life
This technique is not about taking 5 amazing pictures. It is just for you to explore different possibilities in a single moment, without wasting time or needing sophisticated equipment, and yet ensure at least one satisfactory photo.
But you will see that not all angles are always good and each of the positions I have taught you has its pros and cons that can give you the exact result you want or do the opposite. The important thing is that you will have at least five shots to choose which one is best for you.
This changed my life because, whereas I love trying out several possibilities when I take photos, most of my photos (when I am in the shot) are taken by my husband who doesn’t like photography as much as I do. So instead of making him spend hours exploring positions, I simply ask him to follow the 4 points and that’s it!
He takes one step forward and clicks! One step back and clicks! He lifts his arm, clicks! Squat, clicks! And anyone can do this without understanding anything about photography.
So, the next time you want a photo of yourself for Instagram and you need to ask someone, just ask the person to do these 4 points. You will come out with at least one photo that you like, and you won’t tire the person who will be taking the photos.