
I love challenges. I love trying new things that seem hard to do. I’m one of those who can spend hours at Pinterest filling their mind with crazy ideas and trying to do things just because they want to do things, without necessarily having to do those things.
So last week I had one of those unnecessary but worthwhile adventures. I made my first colorful layered cake decorated with fondant. All these methods were new to me.
Okay, a few years ago I even played with fondant in homemade cake, but for the first time I wanted to make something that was really beautiful and that I could say in the end: now I can cover a cake with fondant.
Another challenge I wanted to face was making a layered cake. And I know the ideal would be to start with two layers, then three… but I wanted to make five colored layers!

A few weeks ago I found a set of cake pans for a small 5 layered cake. I found it ideal to have at home because, despite being five layers, the diameter is small so it’s the equivalent of making a normal size cake. As we are just my husband and I here at home, this size is ideal for making a cake that will last us a week (or less) of dessert.
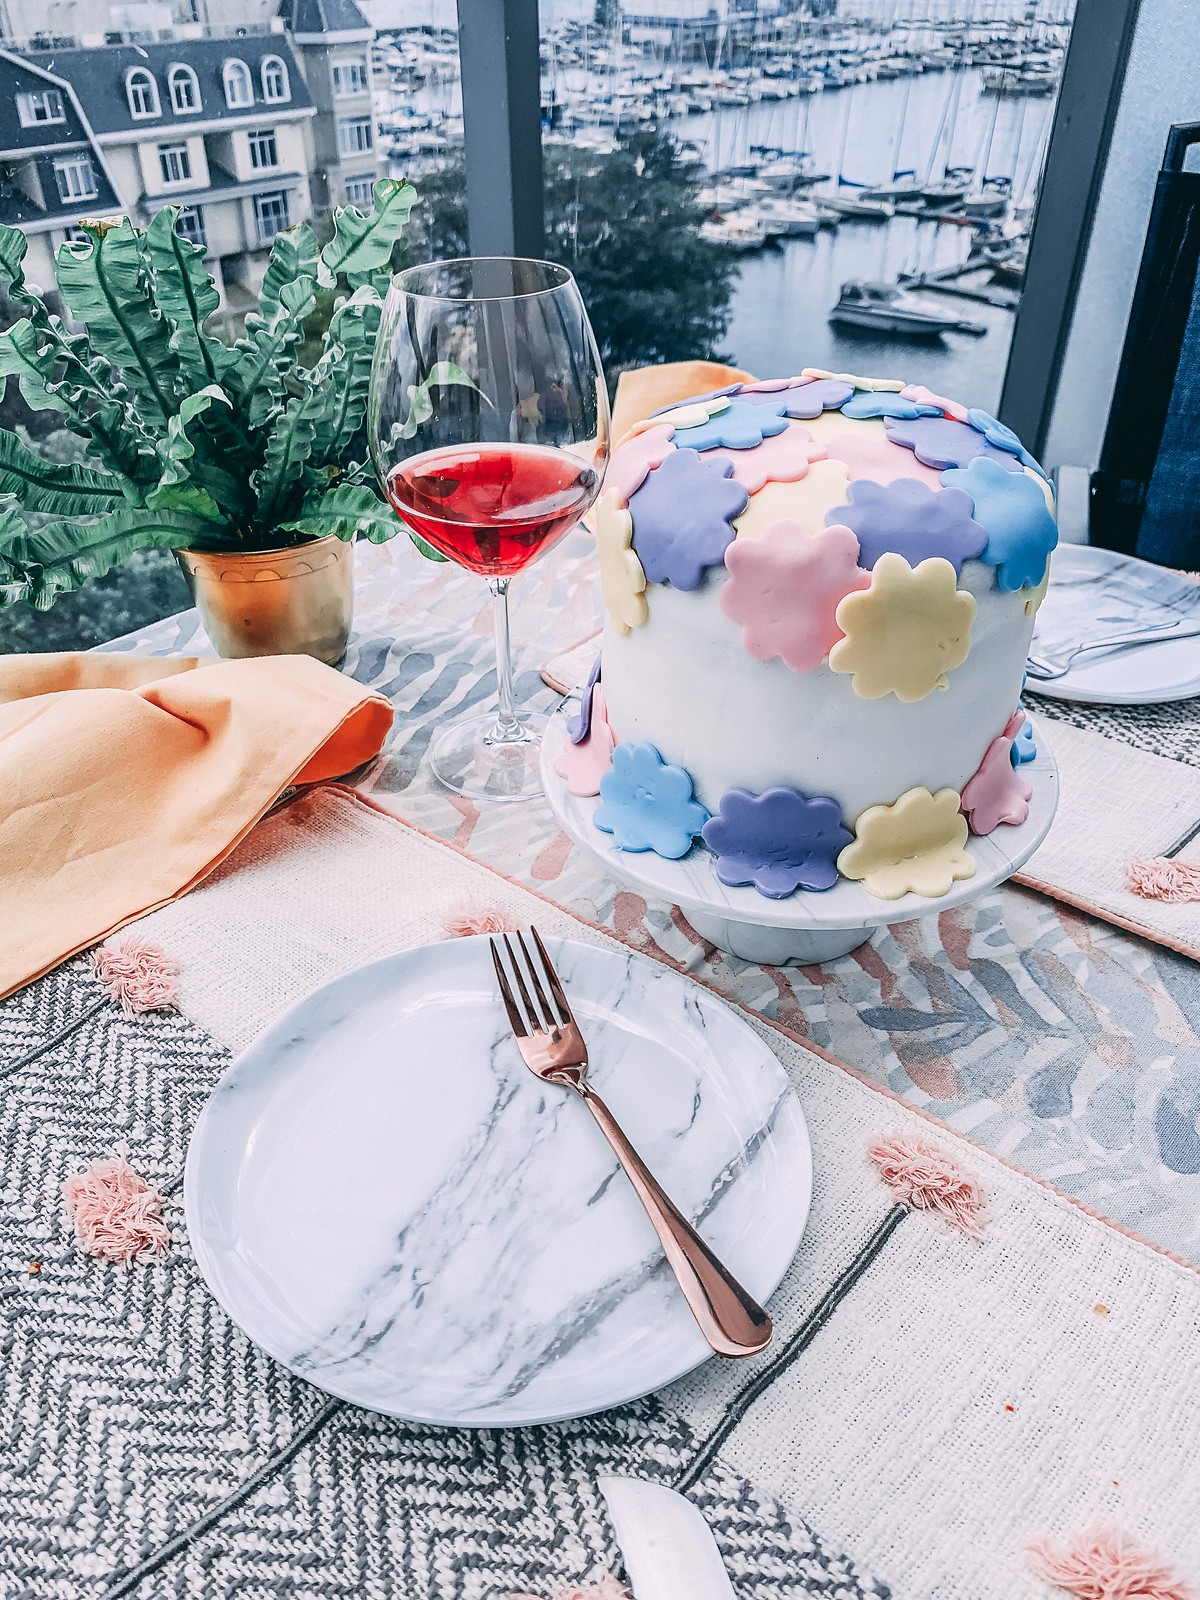
And before you ask me why I made the cake, I already answer that I made it for the same reason as almost every DIY I make: because I just wanted to make it. So we invented an occasion: to celebrate the summer . Last Sunday we had a summer lunch on the balcony with ceviche, oysters, sangria and of course dessert cake! (Of course, all recipes will be here on the blog soon.)
Well, let me tell you how my cake production process went. Although this is not a tutorial post, I would like to share my experience and help those who want to venture the same way. I learned good lessons.
Materials I used
I knew that decorating cakes can be a very expensive hobby, so I decided that I would buy only the essentials and improvise what could be improvised.
Another decision I made to make my job easier was to focus on a specific skill. For example, making a cake requires knowing how to make a good dough, think of good filling combinations and decorating. I focused on decorating because that was the skill I wanted to develop with this challenge. So all the other processes were simplified: I used box cake, industrialized jam, and ready-made icing mix so I didn’t have to worry about getting recipes right.
In the coming challenges I will take more risks and try more elaborate recipes. But if you also want to do this for the first time, I highly recommend this simplification.
For this cake I used:
- 1 Cake Mixing Box
- 1 Icing Box
- 1 Jar of Strawberry Jam
- 1 White Fondant
- Gel dyes in different colors

I already had the pans, the dough roll (there is one specific for fondant, but I used my regular one), a spatula, a cookie cutter (for the flowers) and a hand mixer.
I had to buy it: a turntable (I didn’t find a cake table, so I improvised with one of those cupboard organization. It helped me with this project, but it definitely doesn’t replace a specific table.) And a fondant smoother.
Day 1
On the first day I baked the cake layers. I followed the instructions in the cake box and added a little vanilla extract so the flavor didn’t get so bland.

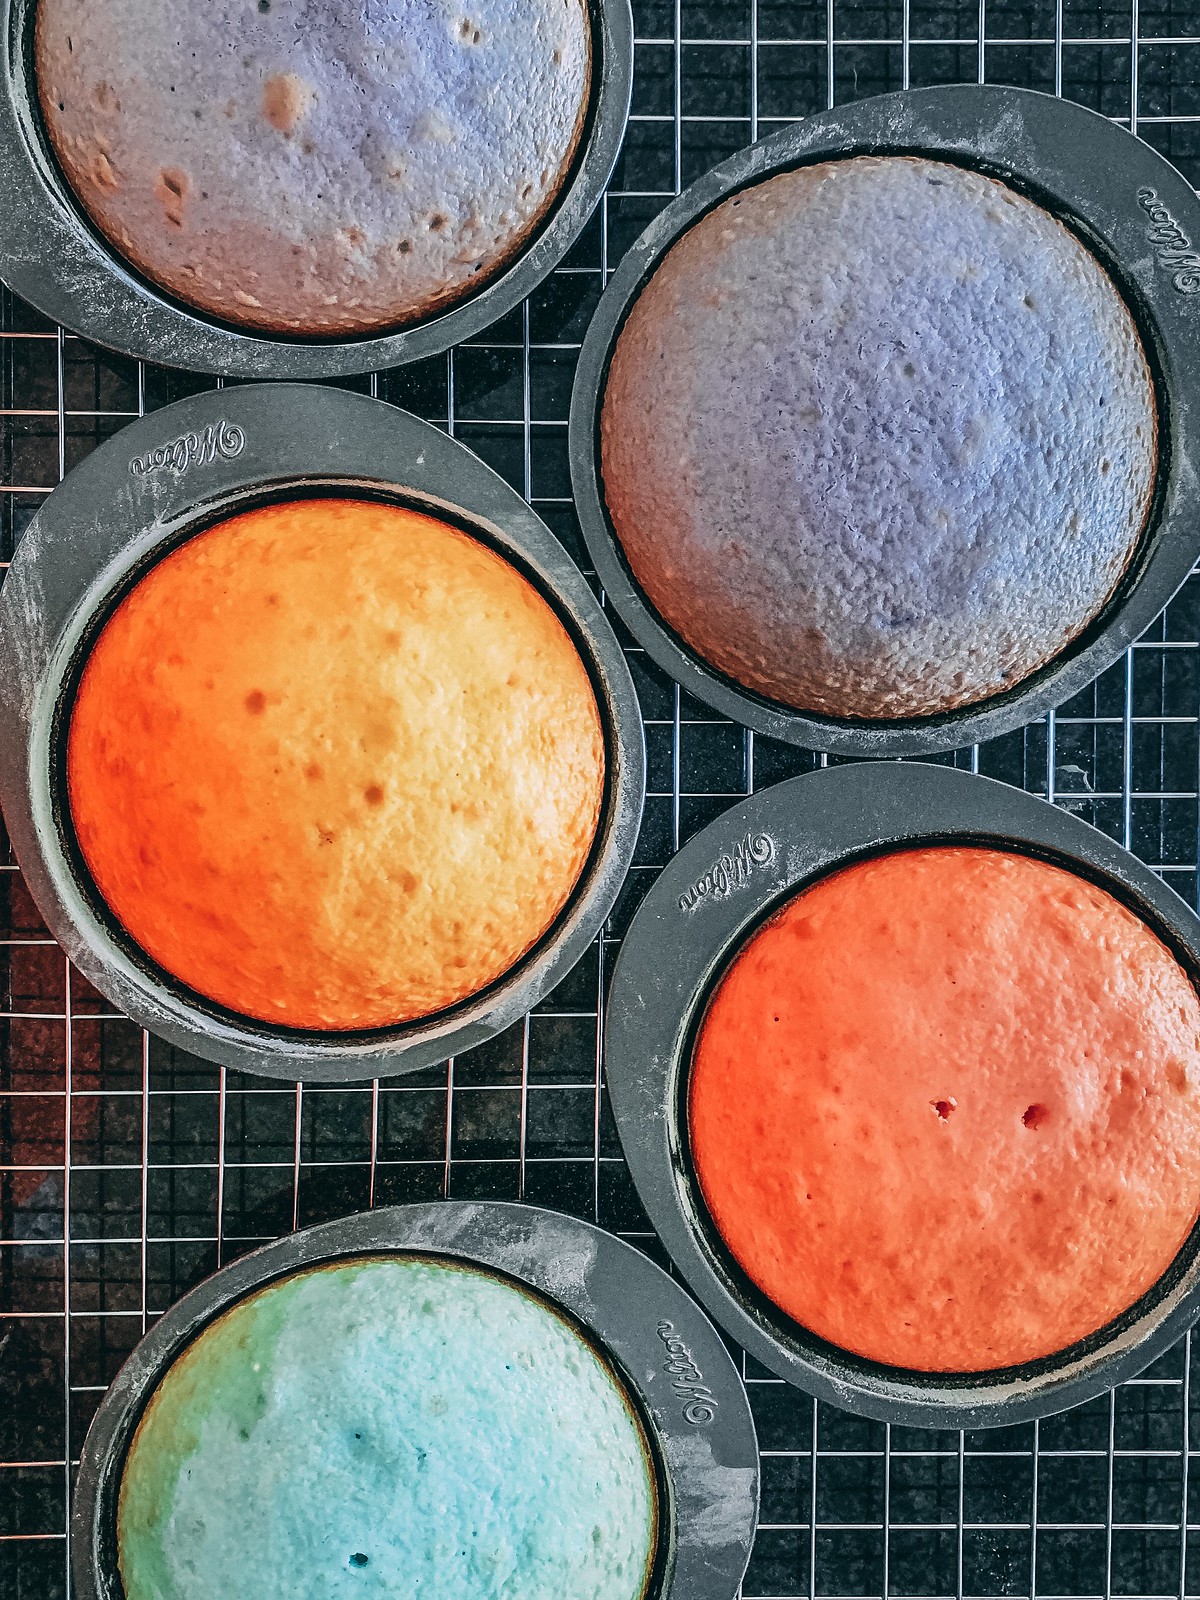
I divided the dough into five bowls to add dye to each portion. I dipped the tip of a toothpick into the dye pot and then dipped it into the batter. I mixed and added more dye until I got the color I wanted.
Then I put the portions of dough on the baking pans and baked them in the oven. I kept a close watch because, as the pans were small and shallow, the baking time was shorter than indicated on the cake box, which is calculated for a normal pan size.
I took the cakes out of the oven and let them cool for a few minutes. When they were cold, I wrapped it in plastic wrap and put it in the freezer.
What I learned that day: this was the easiest day because there is no mystery in beating a cake mix and baking it, right? The learning was due to the coloring (my first time doing this). Ideally add the dye slowly and see if the color is desired. Remember that when baked the dough becomes darker than when raw. Keep this in mind when building colors.
Day 2
On the second day I assembled the cake and topped it with icing.
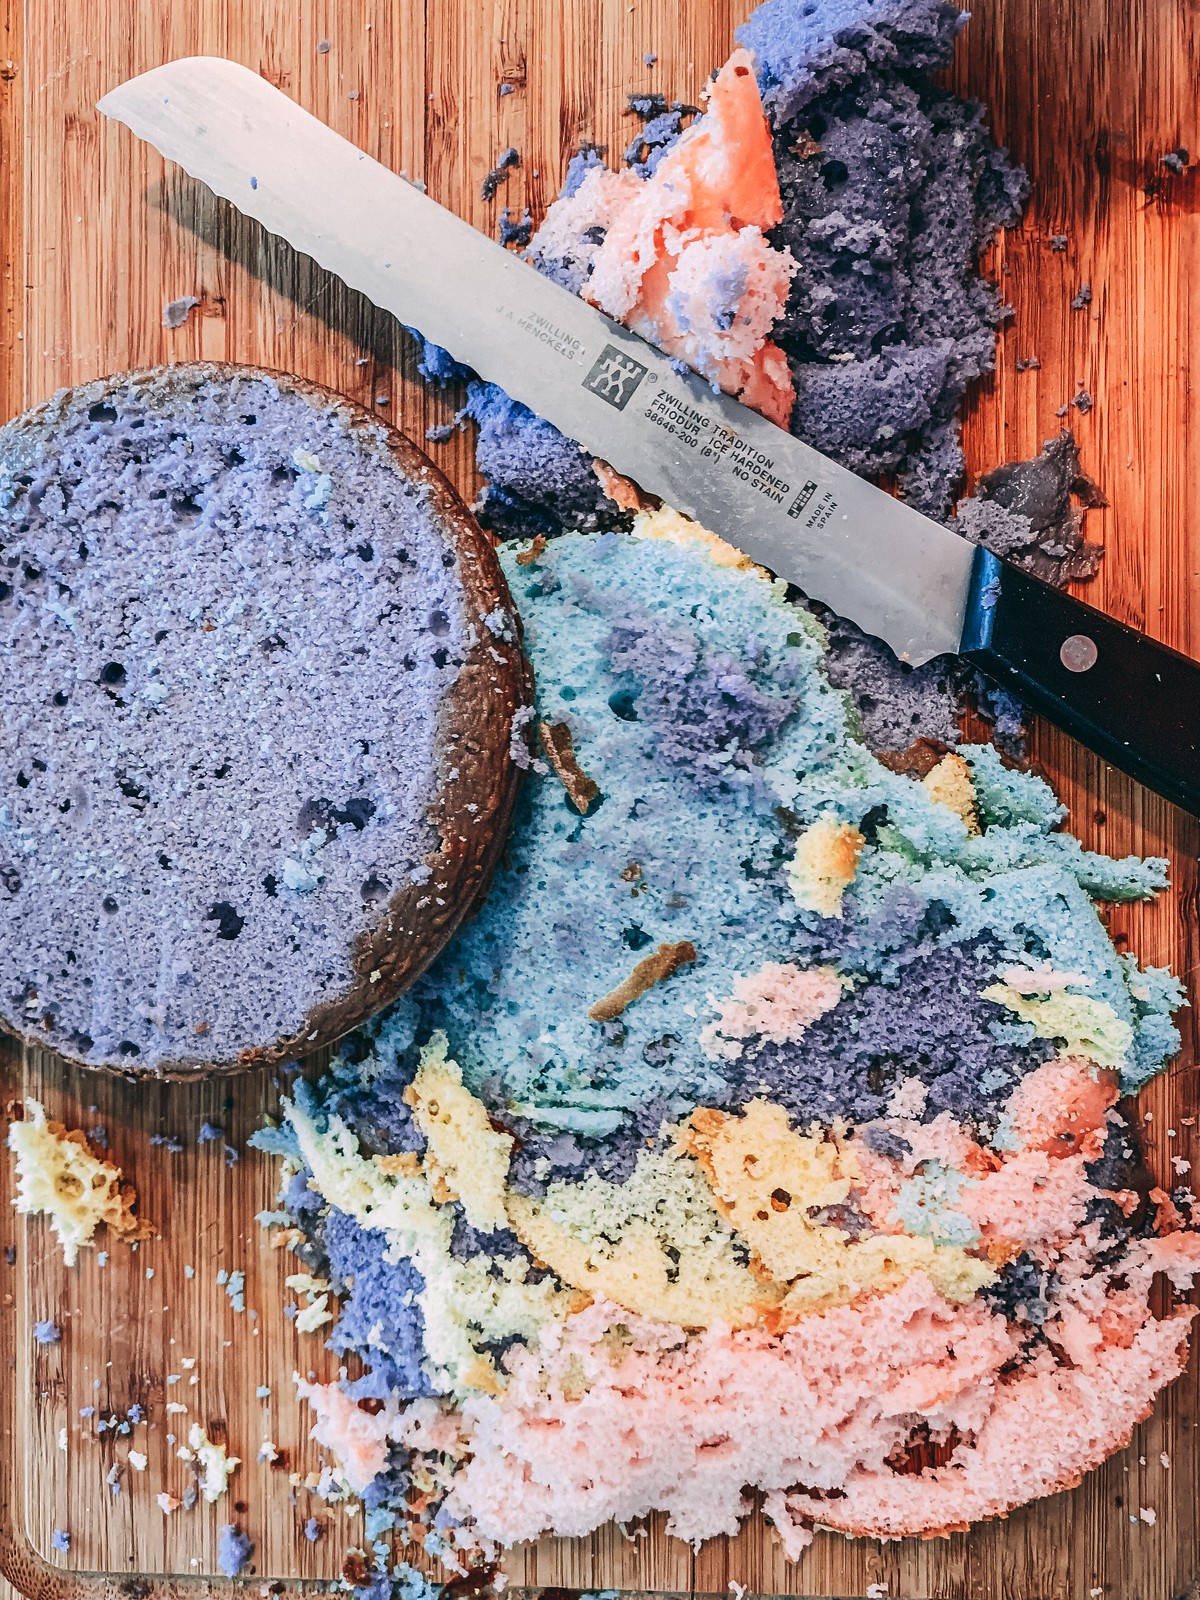
I removed the layers from the freezer and trimmed the top so that they were flat. I used a regular bread knife for this process.
To make sure my cake would stand up, I stacked the layers and checked it fit well. So I trimmed the pieces that made the cake more unstable until I got a structure that seemed safe to me.
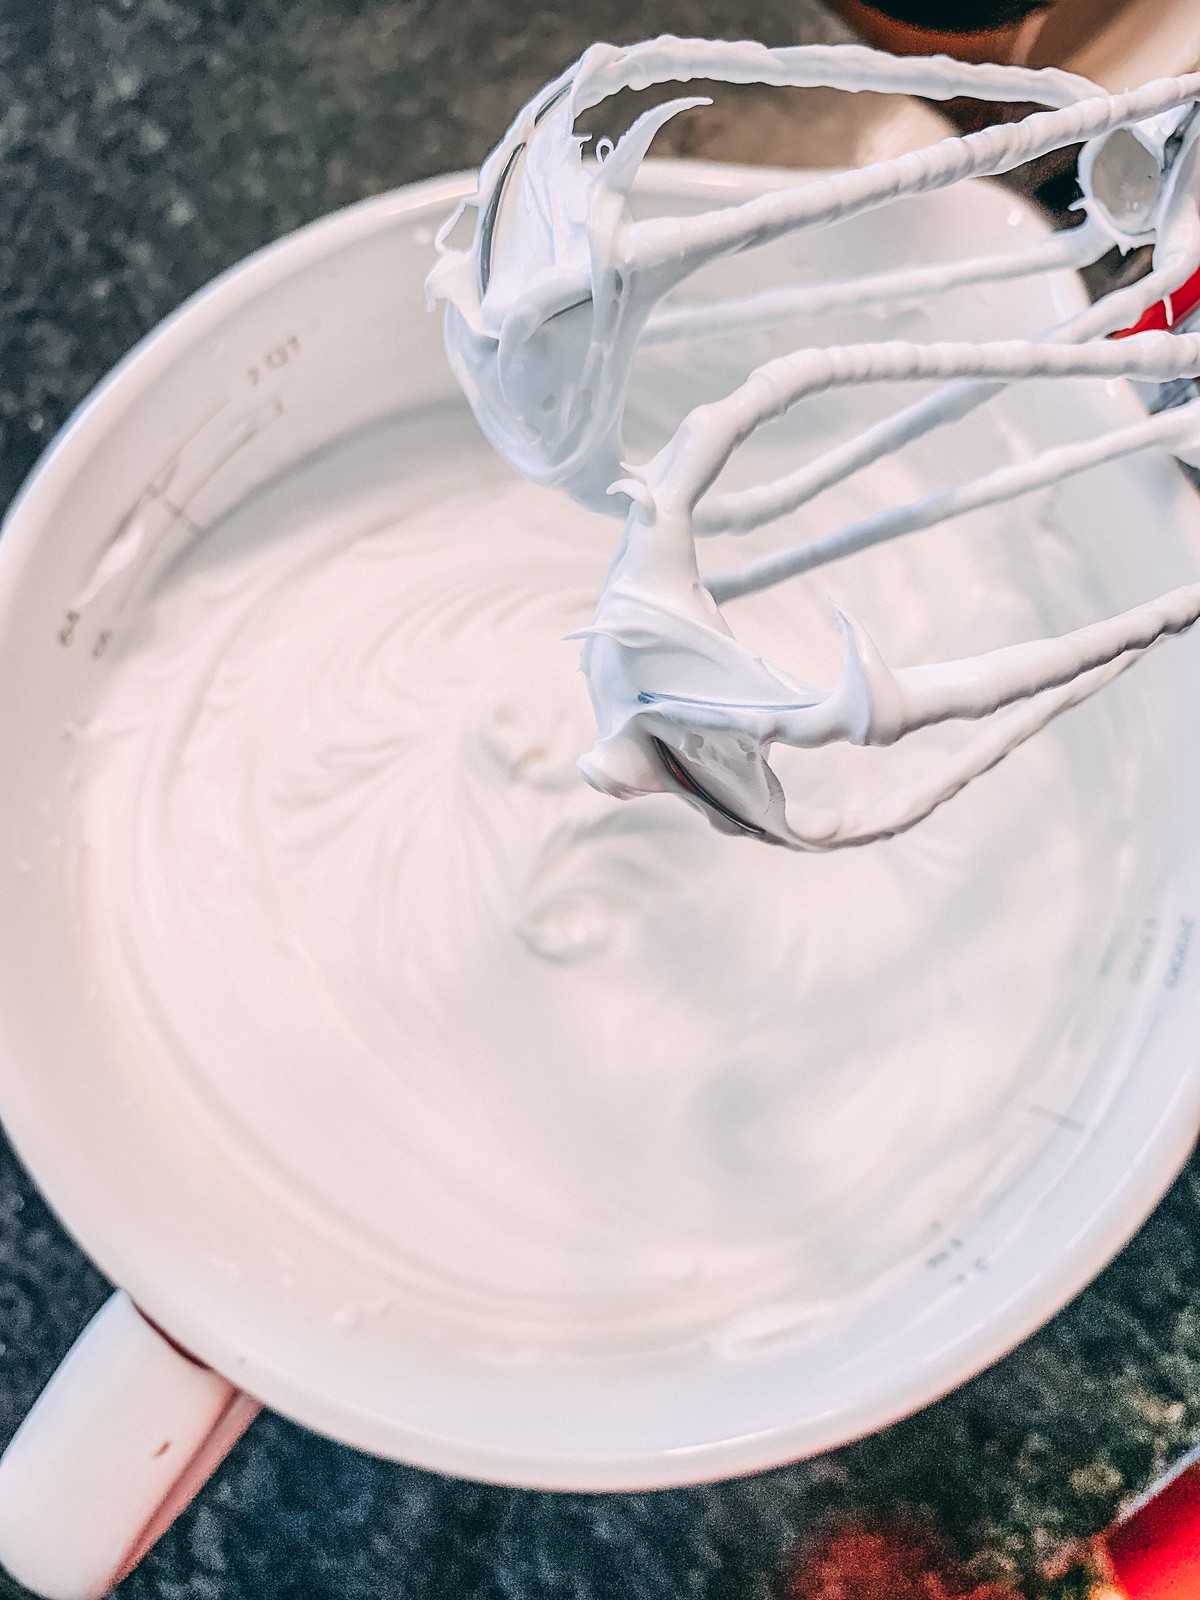
Then I covered each layer with strawberry jam and some icing. In this part the turntable helps a lot because it is enough to put a little icing and rotate the table to adjust the height with the spatula.

Before moving on to the next layer, I made sure the cake was still stable.

When all the layers were stacked, I put the icing on the side of the cake. Again the turntable has helped a lot in this process. I just propped the spatula close to the cake and turned the table. I think, for a first time doing this, the result was quite uniform.
I just thought the top of the cake was harder to smooth and I think a good turntable would have helped me get a better result.
What I learned that day: It really makes all the difference to leave the cake in the freezer overnight. The layers are much firmer to be stacked, but the inside is wetter (I proved by trying the cake chips I cut). I also learned that having a turntable makes a lot of difference, and I will definitely buy a cake-specific one.
Day 3
The last step was, of course, to decorate with the fondant. I thought this would be the trickiest part, but it turned out to be the funniest part. And aside from some precautions to take, it is quite simple to perform.
I heated my fondant in the microwave in 30 seconds. This makes the fondant more malleable and easier to work with.
I spread some icing sugar on the granite countertop, the roll and my hands. I rolled the dough up to a thickness of about 3 mm (1 / 8 inch). I removed the dough from the counter, resting on the roll, and covered the cake.
I smoothed the top surface with the fondant smoother and then laid my fingers gently on the sides. At this stage the turntable was also important.
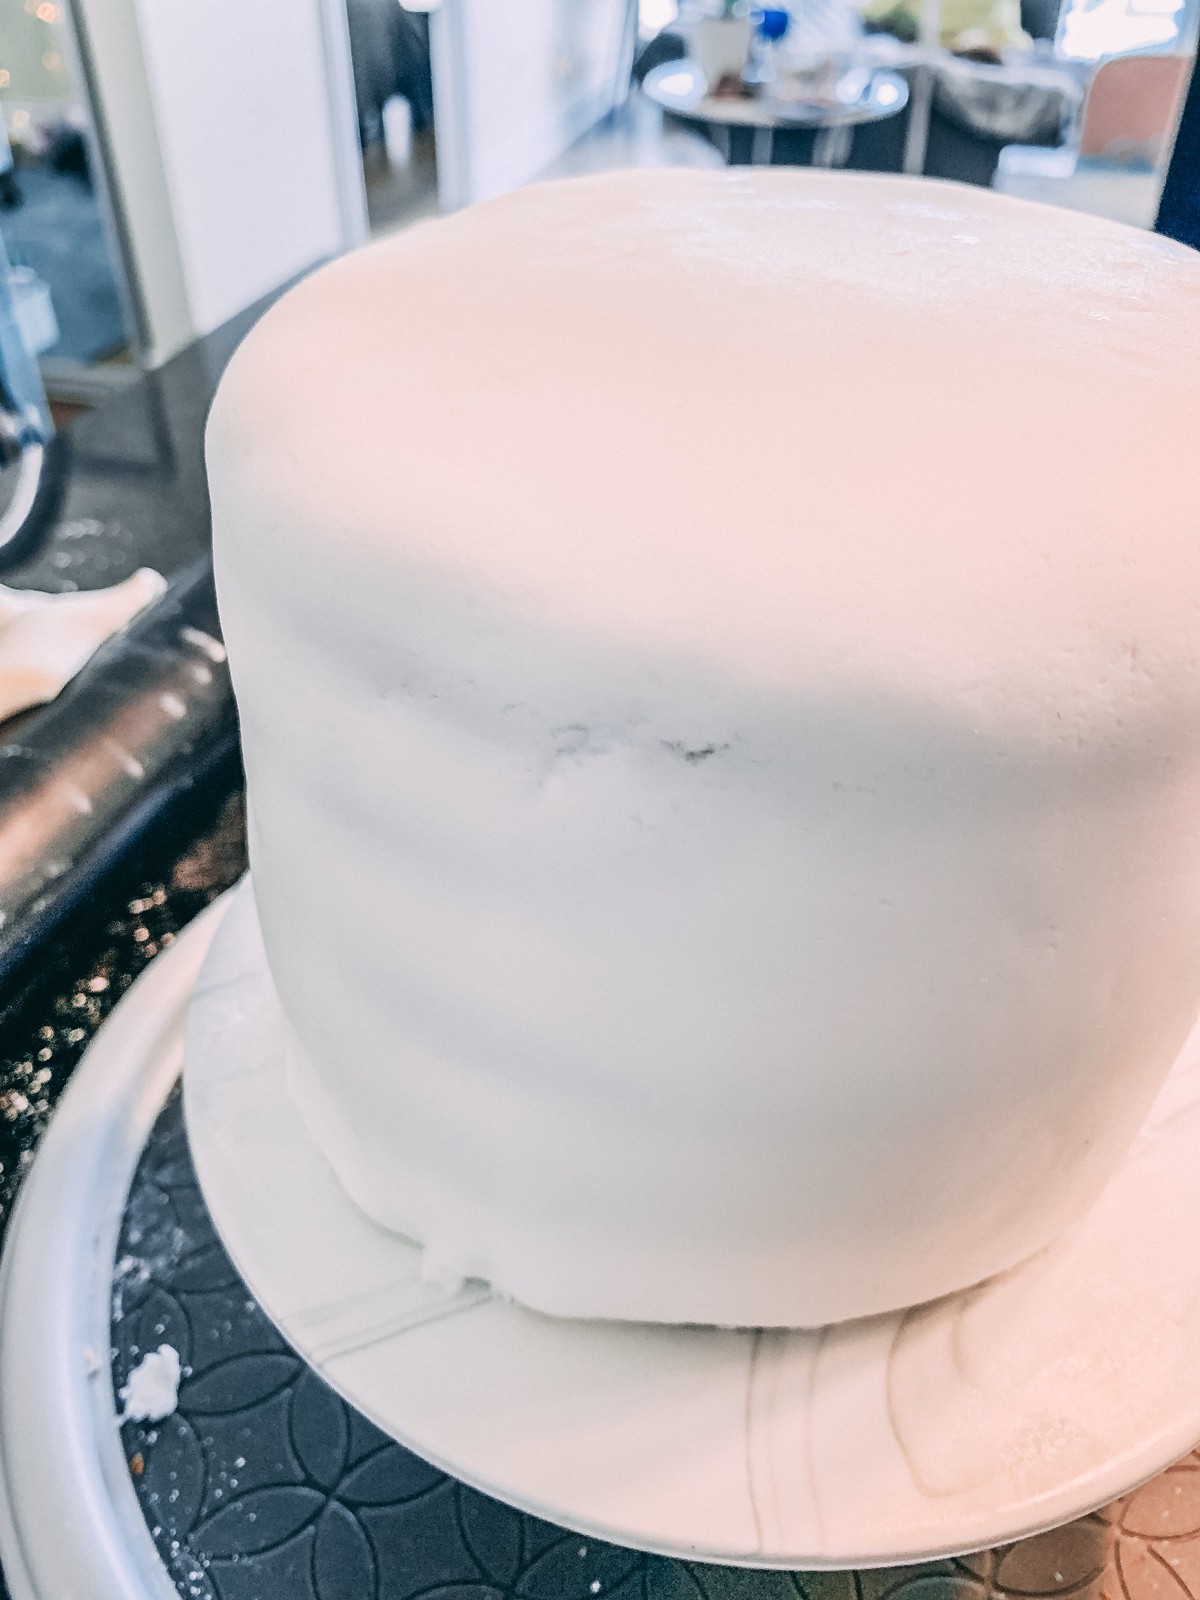
I can’t believe I did it on the first try! The coverage was satisfactory except for one point where I tore the fondant .

By then I could tell I had accomplished my goal of covering a cake with fondant , but I wanted to go further, I wanted to decorate the cake.
So I divided the rest of the fondant into four parts (it was the number of colors I had) and, using toothpicks, added a little bit of dye to each one. I kneaded by hand until it came to a homogeneous color.
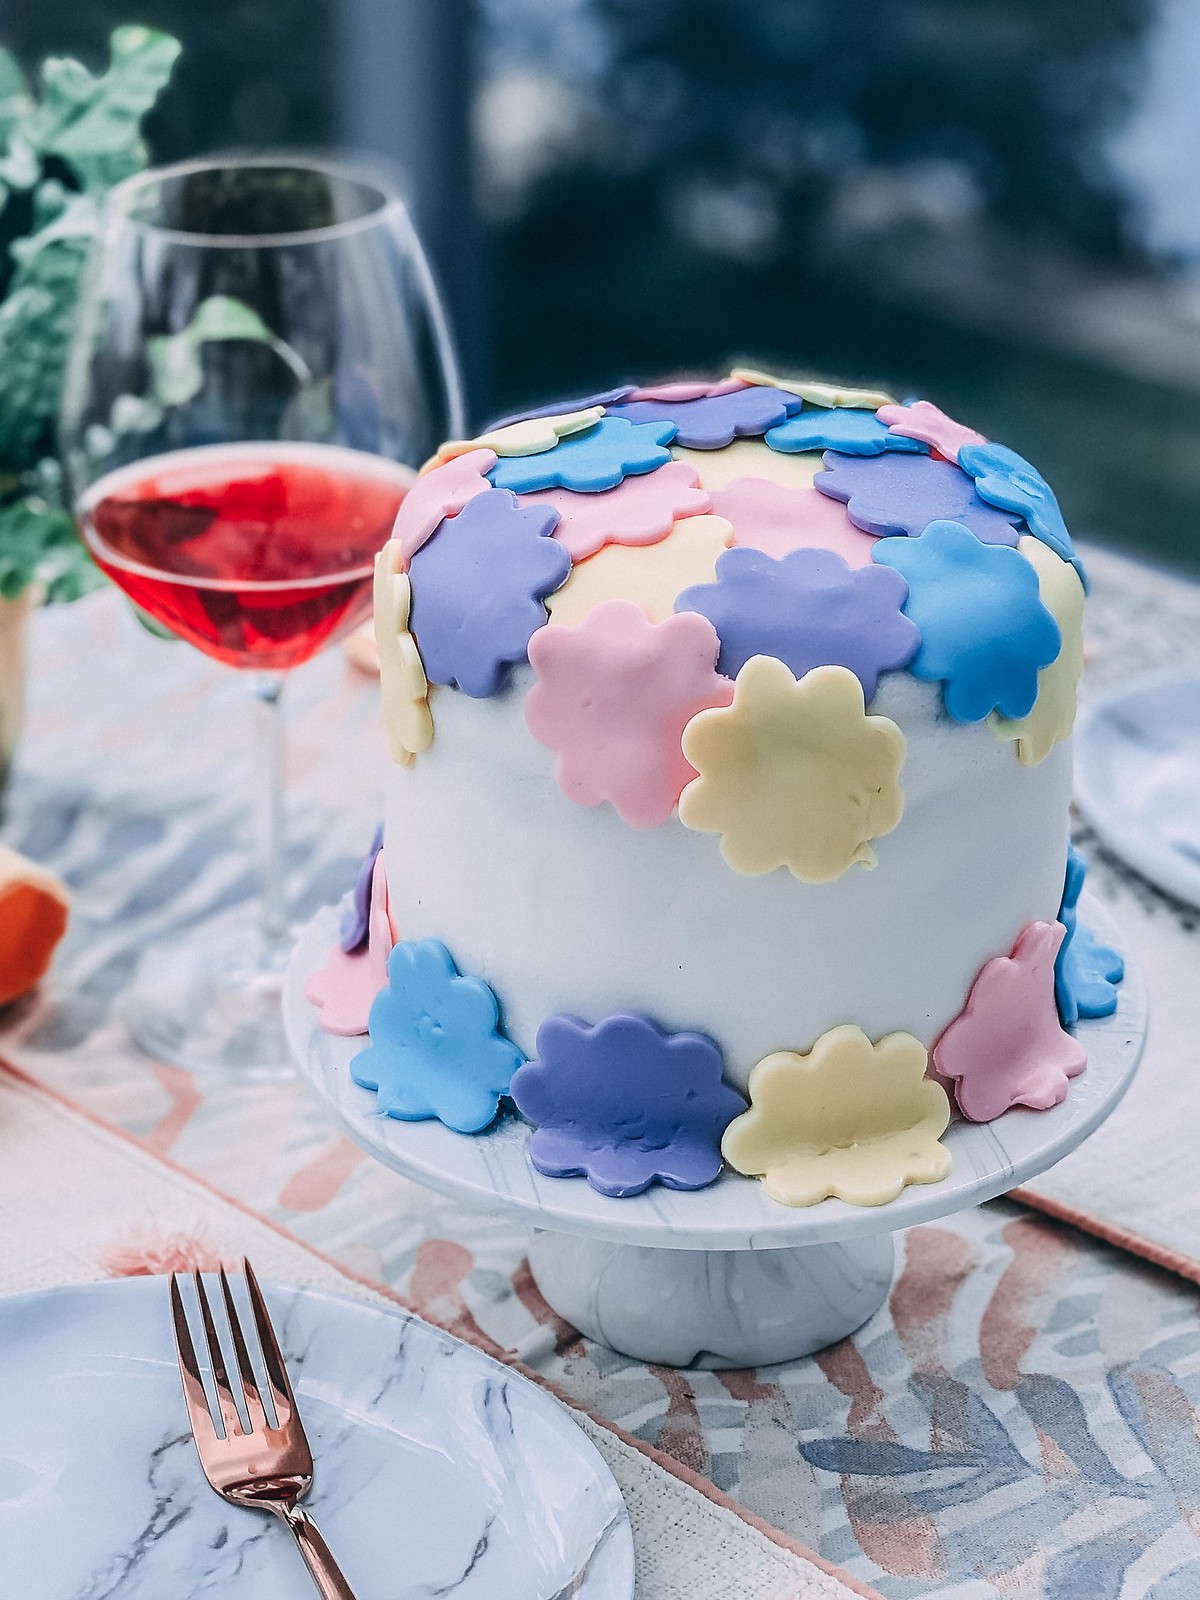
I opened the fondant and, using a cookie cutter I already had, cut into flower shapes. Then just decorate the cake with the colorful flowers!
What I learned that day: You don’t have to be afraid of fondant, in a few minutes you will learn how to work it. And yet, if you make a mistake, it’s easy to mix and start shaping again. I also found that it is ideal to have short nails because the fondant is easily marked if you are not careful.
The aftermath
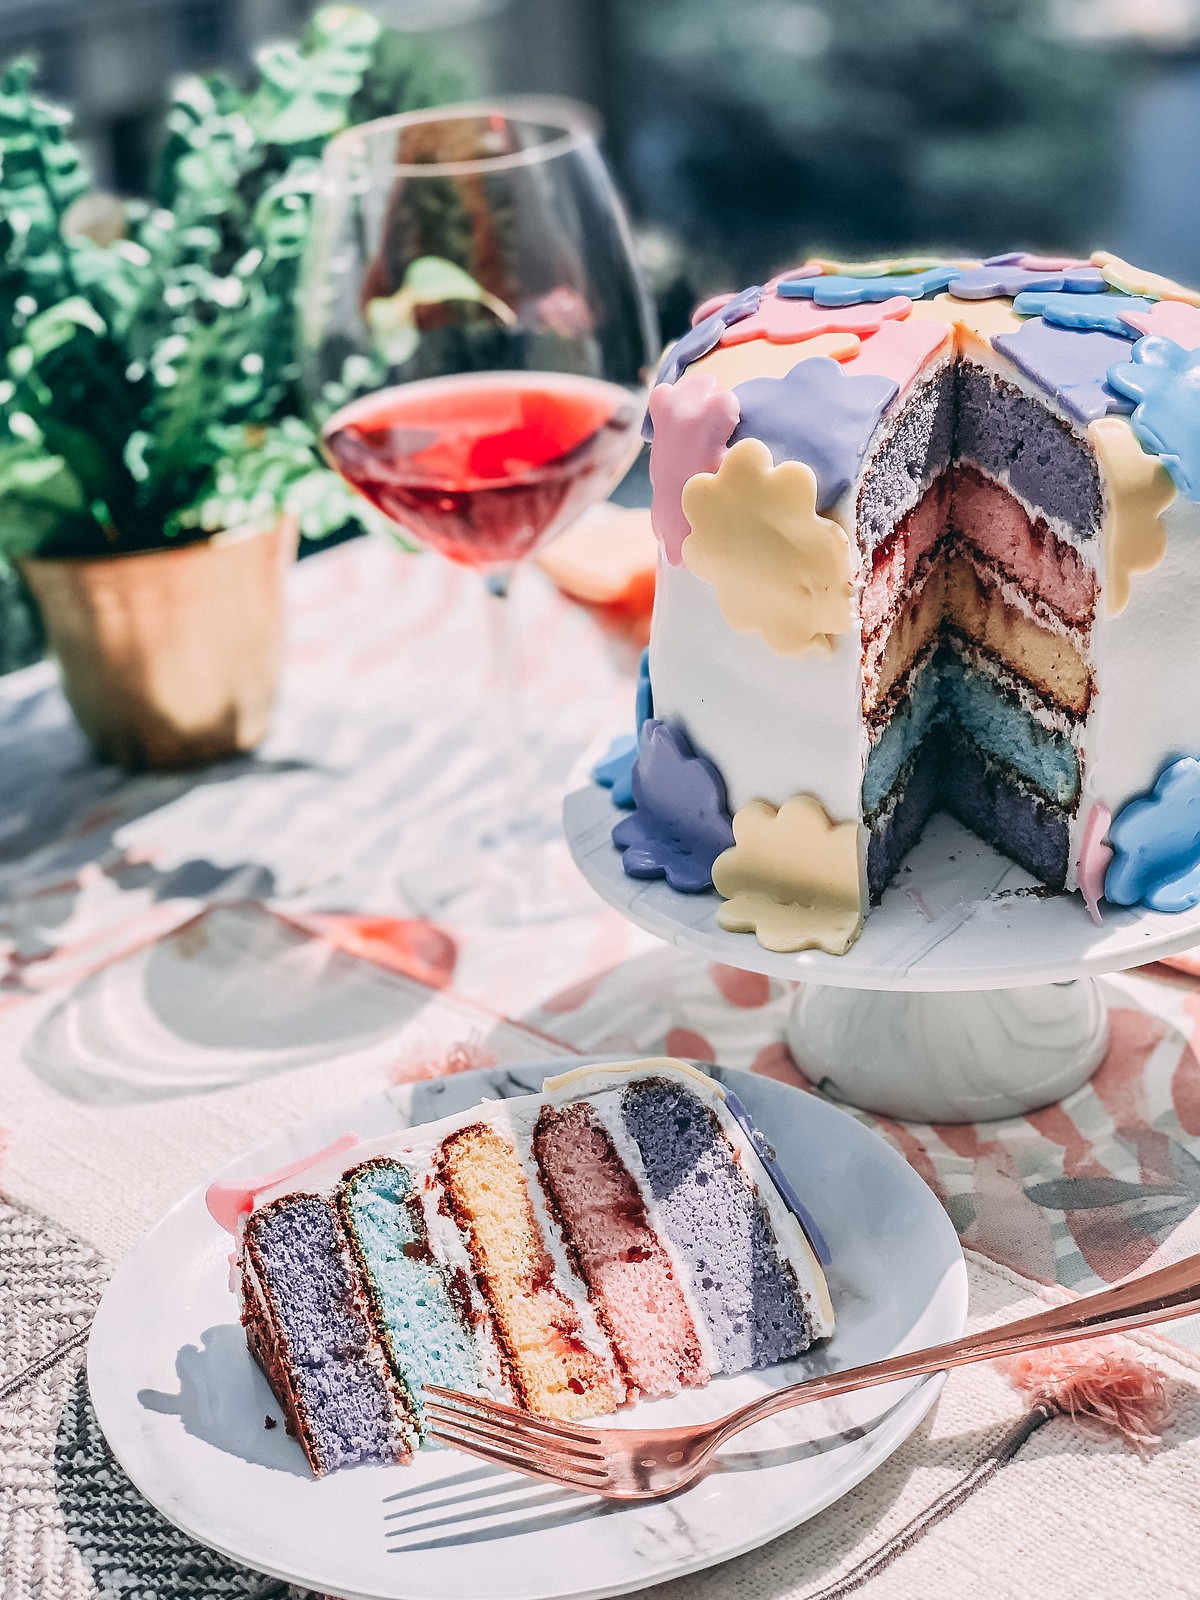
I kept the cake in the freezer from Friday (when I finished) until Sunday (when I served for our lunch). I was very apprehensive to see if the cake would still stand when it was cut, after all, it had 5 layers!
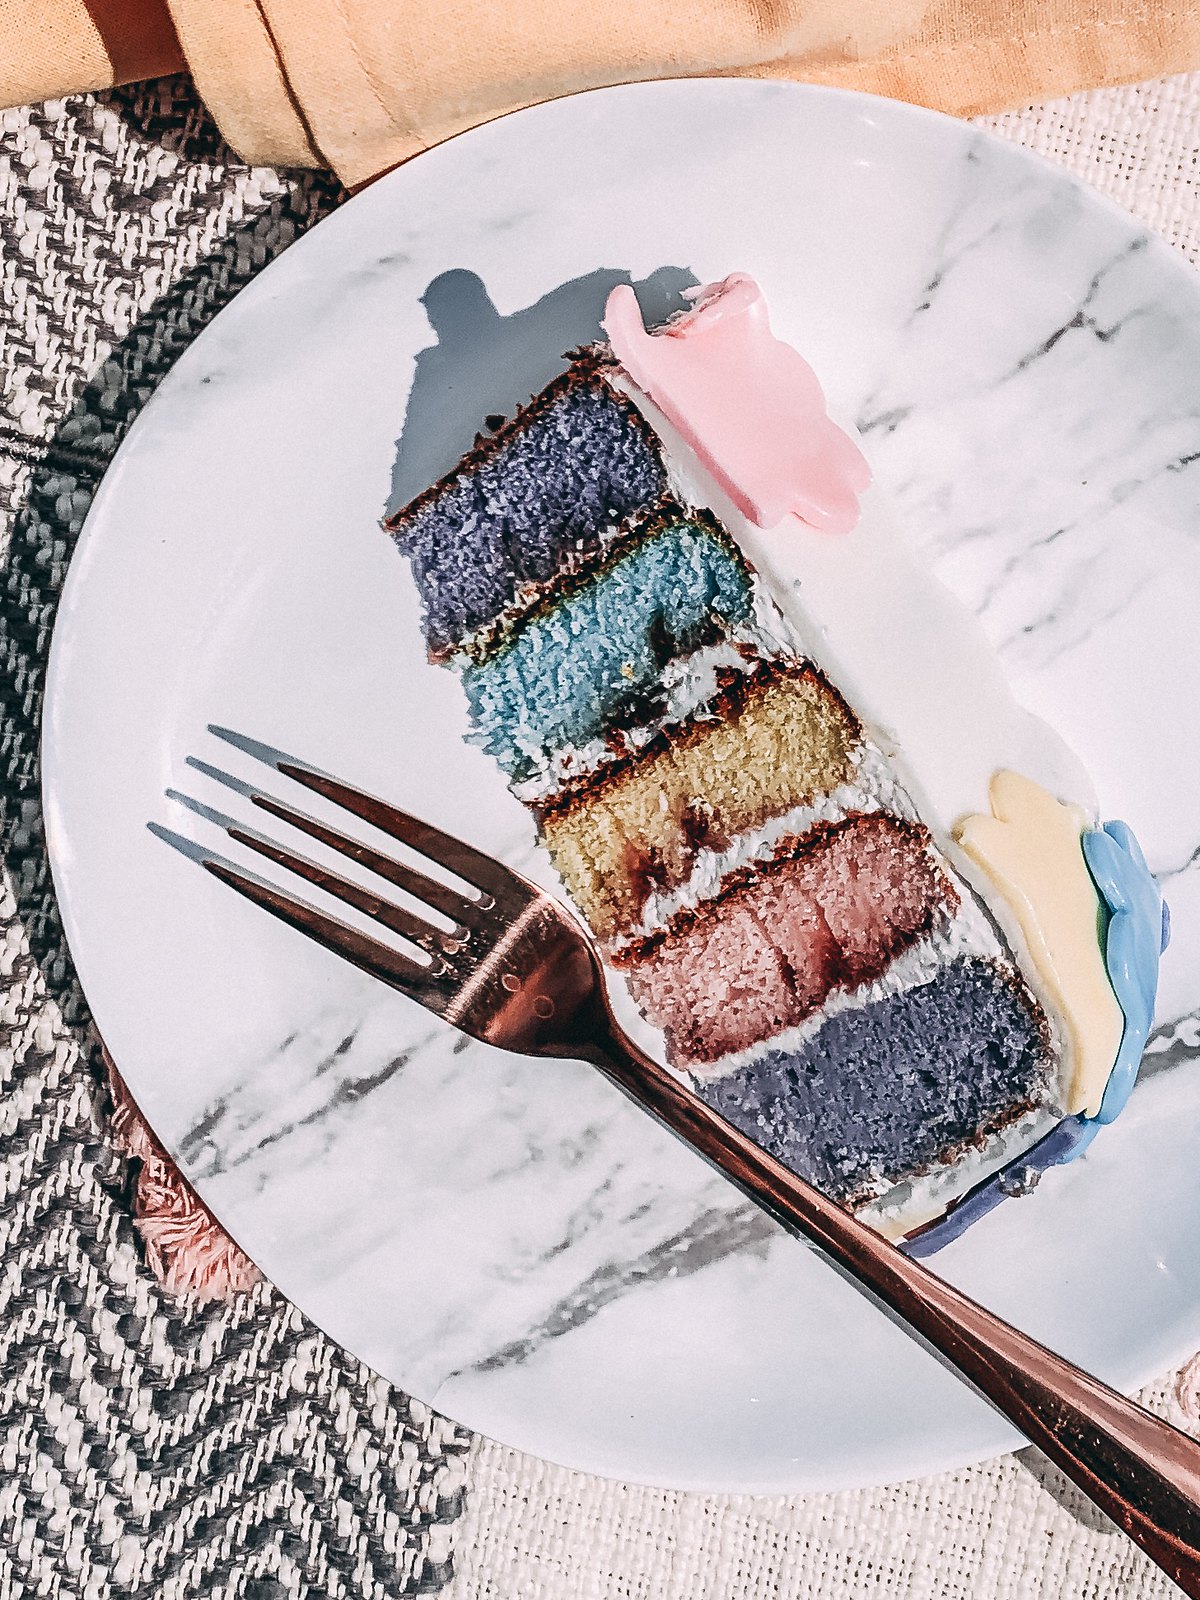
To my surprise, the cake was very stable and of perfect consistency. Both the cut piece and the cake retained their structures (and got me beautiful pictures! ?)
My next projects
Now that I can decorate a cake with fondant, besides continuing to perfect the technique, I want to try to make more tasty recipes. The cake was tasty but simple. In the next I want to make different fillings and prepare the dough from scratch.
I also want to play more with the fondant: make other types of ornaments and even try a more vertical decoration.
What I want to buy for the next cakes: